The Definitive Guide to Installing Epoxy Flooring in Your Garage
Introduction
If you’re tired of your dull, stained garage floor and dream of a sleek, durable, and easy-to-maintain space, epoxy flooring might be the perfect solution for you. Epoxy has become a popular choice for garage floors due to its many benefits, including its strength, chemical resistance, and attractive finish. In this definitive guide, we’ll take you through the entire process of installing epoxy flooring in your garage, providing you with a step-by-step approach to creating a space you’ll be proud to showcase.
Understanding Epoxy Flooring
Epoxy garage flooring is a type of resin-based surface that is applied to concrete floors. It consists of a combination of epoxy resin and a hardening agent that, when mixed together, creates a strong chemical bond. This bond results in a smooth, seamless, and highly durable surface that is resistant to stains, impacts, chemicals, and abrasion.
Advantages of Epoxy Garage Flooring
Epoxy garage flooring offers numerous benefits beyond its aesthetic appeal. Its resistance to chemicals, oil, and stains makes it ideal for heavy-duty use. Additionally, the seamless and smooth surface is easy to clean, and the high-gloss finish reflects light, brightening up the garage space.
Comparing Epoxy Flooring with Other Options
While epoxy flooring is an excellent choice, it’s essential to consider other flooring options before making a decision. Garage floor paint and interlocking floor tiles are alternatives worth exploring, each with its unique advantages and limitations.
Garage Floor Paint: A Cost-Effective Option
Garage floor paint is a budget-friendly option for those looking to enhance their garage’s appearance without breaking the bank. It is relatively easy to apply and comes in various colors. While it can improve the look of your garage floor, it lacks the same level of durability and chemical resistance as epoxy. Painted floors can also chip and peel over time, requiring more frequent maintenance.
Interlocking Garage Floor Tiles: Versatility and Ease of Installation
Interlocking garage floor tiles are another option to consider. These tiles are designed to fit together seamlessly, creating a durable and visually appealing surface. They come in various materials, including PVC, polypropylene, and rubber, each offering specific advantages. Interlocking tiles are easy to install and can be removed and replaced individually if damaged. However, they may not offer the same level of seamless, smooth finish as epoxy flooring.
The Installation Process: Step by Step
Now that we’ve explored the advantages and alternatives let’s dive into the step-by-step process of installing epoxy flooring in your garage.
1. Preparing Your Garage
Before diving into the installation process, it’s crucial to prepare your garage floor properly. Cleaning the surface thoroughly to remove any dirt, oil, or grease is essential. Additionally, filling in any cracks or imperfections and ensuring the surface is smooth and level will lay the foundation for a successful epoxy application.
2. The Importance of Primer
Applying a primer is a critical step in ensuring the epoxy adheres effectively to the concrete surface. The primer creates a strong bond between the concrete and the subsequent layers of epoxy, preventing delamination over time.
3. Mixing the Epoxy
Properly mixing the epoxy resin and hardening agent is crucial for achieving the desired strength and durability. Following the manufacturer’s instructions precisely will ensure that the epoxy cures correctly.
4. Applying the Base Coat
Once the epoxy mixture is ready, it’s time to apply the base coat. Using a roller or squeegee, spread the epoxy evenly across the garage floor. The base coat will serve as the foundation for the final epoxy finish and determine the color and design of your garage floor.
5. Optional – Adding Decorative Flakes
For those who desire a textured and visually appealing surface, adding decorative flakes to the wet base coat is an option. Decorative flakes come in various colors and sizes, allowing for a personalized touch to your garage floor.
6. Curing Time
After applying the base coat (and decorative flakes, if desired), allow the epoxy to cure according to the manufacturer’s guidelines. Proper curing time is essential for the epoxy to achieve its maximum hardness and durability.
7. Applying the Top Coat
The top coat is the final layer of epoxy that enhances the floor’s gloss and provides additional protection against UV rays and abrasion. It also seals in the decorative flakes, if used, and adds an attractive finish to your garage floor.
Caring for Your Epoxy Garage Floor
Maintaining your epoxy garage floor is simple and requires minimal effort. Regularly sweeping the floor to remove dirt and debris, and occasionally mopping with a mild detergent will keep your floor looking fresh and clean. Avoid using harsh chemicals or abrasive cleaners, as they can damage the epoxy coating. Additionally, placing rugs or mats in areas where oil or chemicals may spill can protect the epoxy surface from potential stains.
Conclusion
Installing epoxy flooring in your garage is a rewarding project that will transform your space into a functional, attractive, and durable area. Understanding the steps involved and properly preparing the surface will ensure a successful installation. With its easy maintenance and long-lasting appeal, epoxy flooring is undoubtedly a top choice for anyone looking to elevate their garage game. Get ready to roll up your sleeves and embark on this exciting journey of creating a stunning epoxy garage floor that will stand the test of time.
By exploring epoxy garage flooring and its installation process, you’re taking a significant step towards enhancing your garage’s functionality and aesthetics. While epoxy is a fantastic choice, it’s essential to consider your specific needs, budget, and style preferences when selecting the ideal flooring option for your garage. Whether you choose epoxy, garage floor paint, or interlocking tiles, you’re on your way to transforming your garage into a space you’ll be proud to showcase.
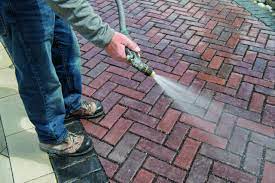
The Ultimate Guide to Washing and Sealing Your Driveway and Pavers
Your driveway and pavers are not just functional surfaces; they’re integral to your home’s exterior aesthetic. Over time, dirt, stains, cracks, and weather damage can turn even the most pristine driveways into eyesores. Fortunately, pressure washing and sealing can...

Revamp Your Pool Deck: Resurfacing Options and Creative Ideas
A pool deck is the centerpiece of any outdoor oasis. It’s where summer memories are made, from splashing kids and relaxing afternoons to lively evening gatherings under the stars. However, over time, even the sturdiest pool decks can lose their charm, becoming...
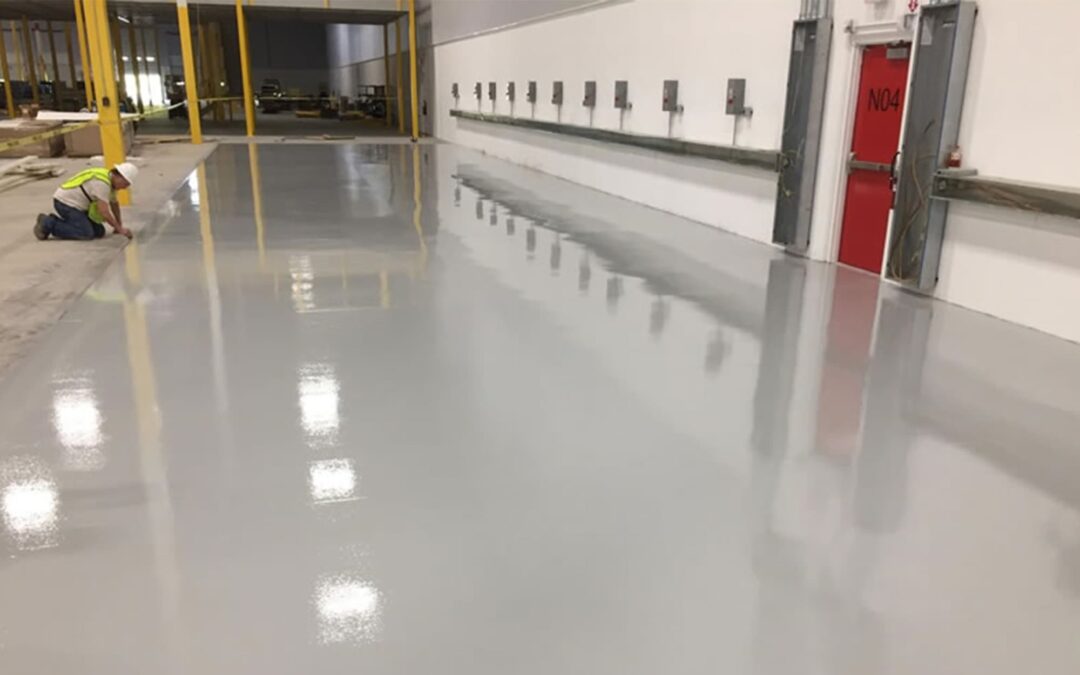
Industrial Epoxy Flooring: Costs, Systems, and Contractor Insights
Why Choose Industrial Epoxy Flooring? Industrial spaces are some of the most demanding environments when it comes to flooring solutions. From heavy machinery and constant foot traffic to chemical spills and temperature fluctuations, the floors in these areas endure a...
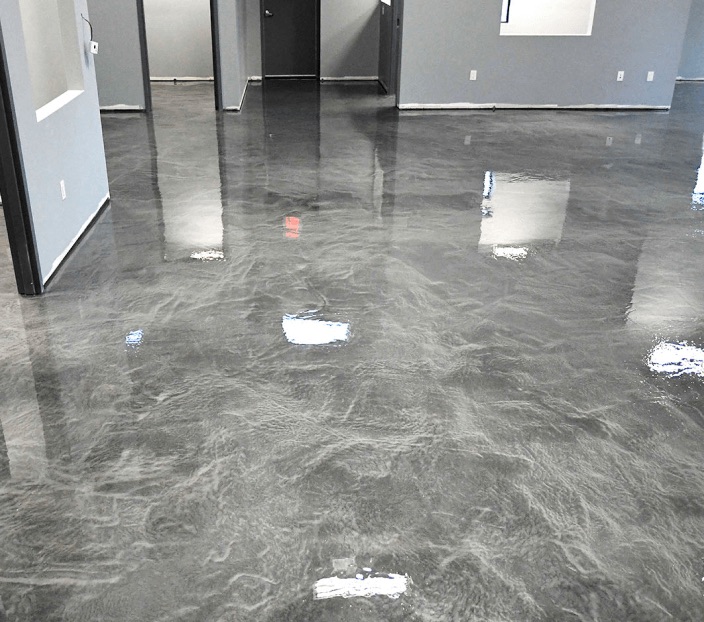
Elevate Your Space with Metallic Epoxy Flooring for Garages and Basements
The Beauty and Durability of Metallic Epoxy Flooring Metallic epoxy flooring is a revolution in flooring design. It takes the concept of a functional surface and elevates it into an art form, seamlessly blending style with practicality. Whether you’re transforming a...
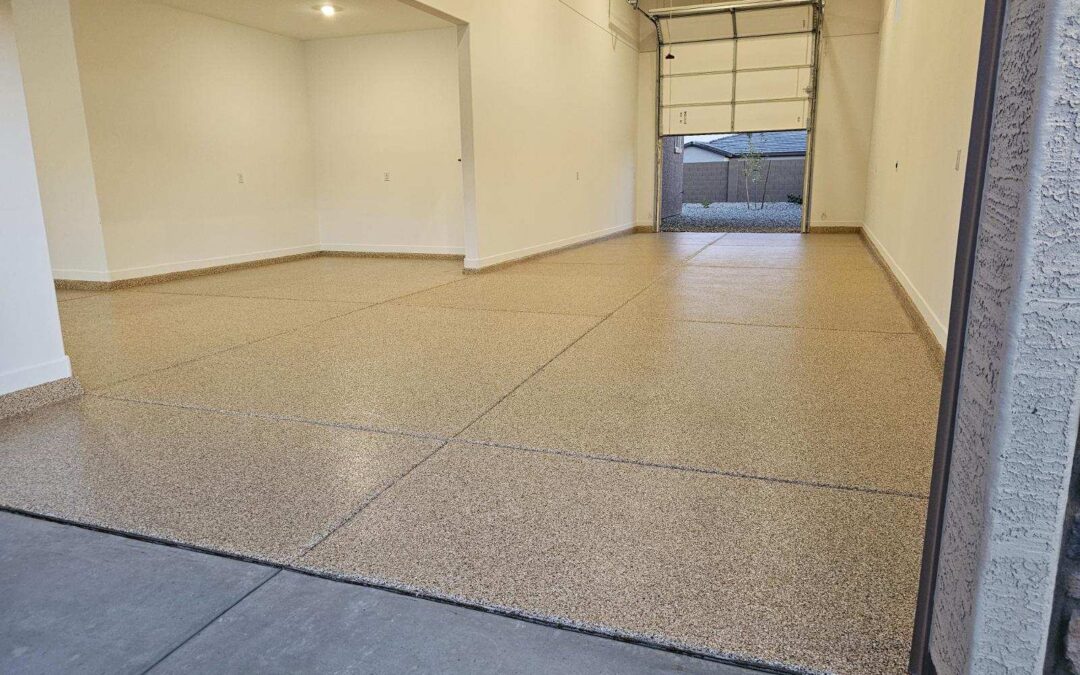
Transform Your Garage in Arizona with Durable and Stylish Epoxy Floors
Enhance Your Garage with Epoxy Flooring Arizona’s sweltering heat, dust storms, and heavy foot traffic can wreak havoc on traditional garage floors. But what if your garage could become a sanctuary of style and durability instead of a space riddled with cracks,...
